Checklists

Arm yourself against the unexpected with our comprehensive 'Checklists' series, meticulously crafted to guide you through diverse survival scenarios. Whether facing the fury of a hurricane or navigating a medical emergency, these detailed checklists offer step-by-step guidance, ensuring you're thoroughly prepared for any challenge. Explore a repository of strategic insights that cover essential aspects of survival, empowering you to methodically plan and safeguard against a spectrum of potential threats. Dive into the preparedness essentials and fortify your readiness with our curated checklists designed to keep you one step ahead in the face of uncertainty.
-
A detailed 100-point sailboat checklist to prep your rig, gear, and crew before passage. Boost safety and avoid costly surprises offshore.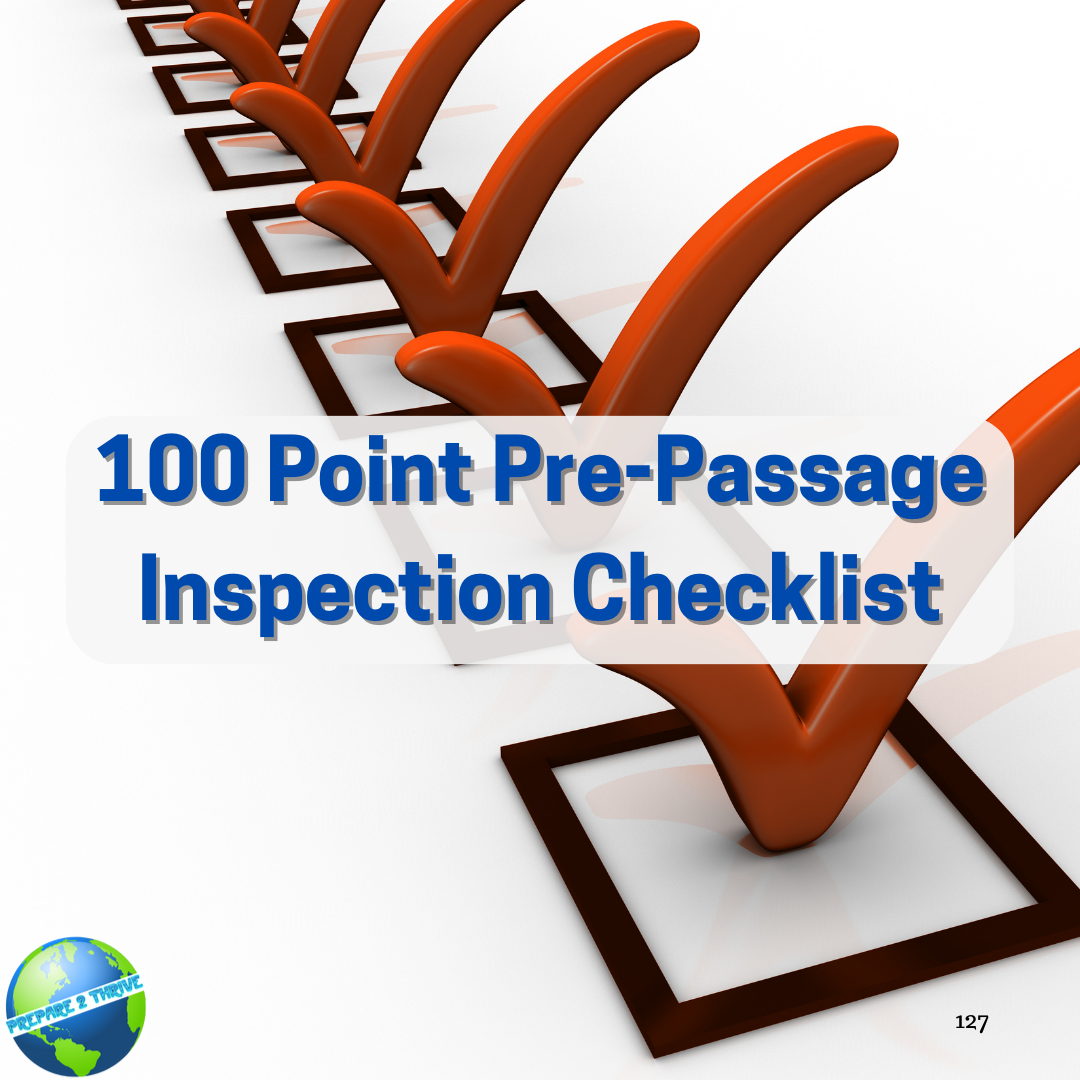
-
Ensure your home is prepared for power blackouts with this comprehensive blackout checklist. From generator maintenance to emergency supplies, be ready when an outage strikes. Don't wait for the lights to go out – take these steps to keep your home and loved ones safe during a blackout. -
Build a visual checklist for emergency situations. This intuitive and interactive tool will help you stay organized and prepared during critical moments. Enhance your emergency response process with this customizable and efficient visual checklist. Start building now! -
Be prepared for any medical emergency with the right supplies and knowledge. Learn how to build essential medical kits, understand the difference between sterile and clean, and discover how everyday items can be adapted for survival healthcare. Whether you're stocking a personal first aid kit or a f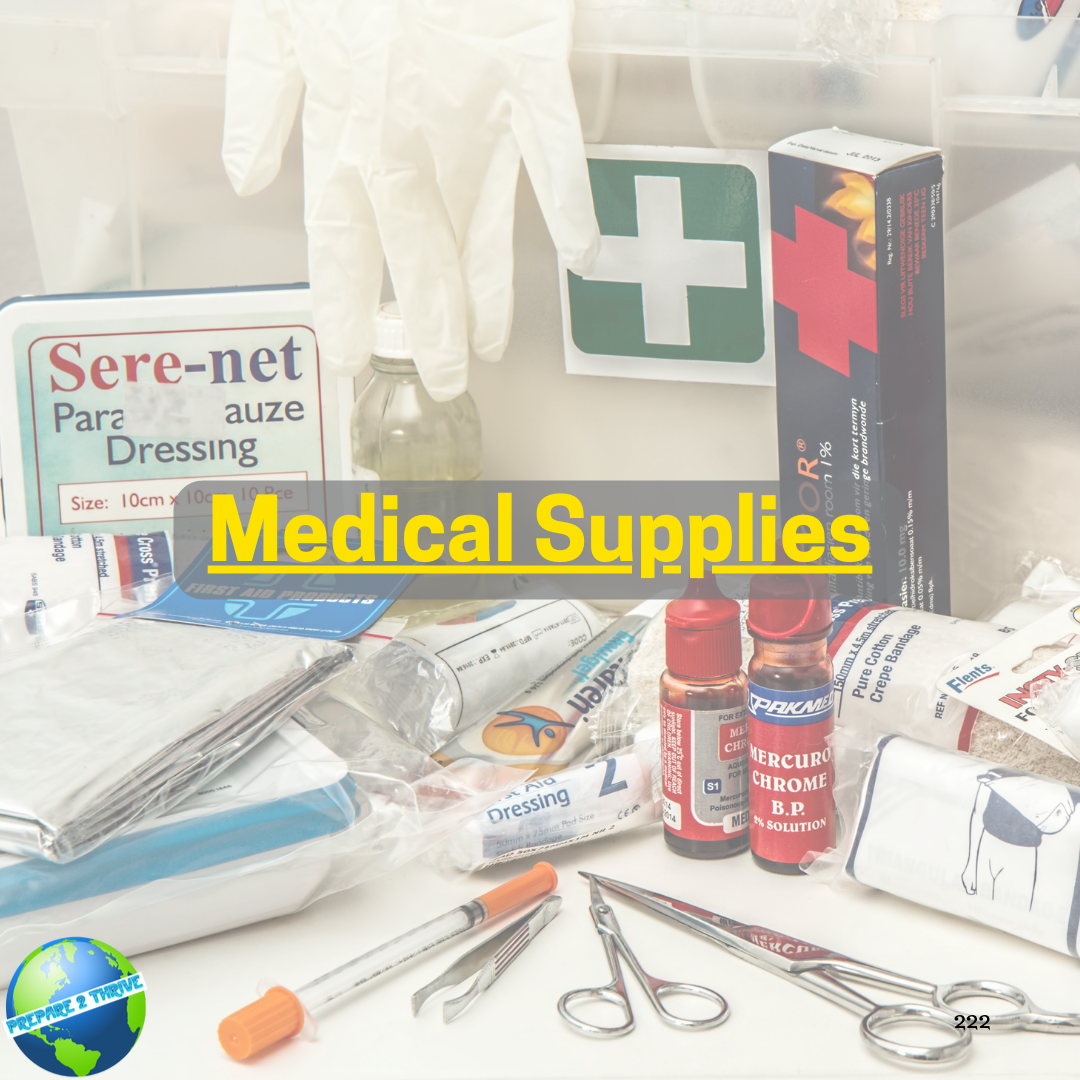
-
Nuclear war survival shopping list with gear for fallout, radiation, and sheltering. Includes PPE, detectors, food, water, and buying tips.
-
Be prepared for any power outage with our essential Power Outage Emergency Kit Checklist. Don't get caught in the dark without food, water, or other necessary items. From non-perishable foods to pet supplies, we have you covered in every season. Don't wait for the unexpected, start building your emergency kit today.
-
Be prepared for the unexpected with our comprehensive Power Outage Emergency Kit Checklist. Don't let a power outage catch you off guard - follow these four essential steps and be ready for any challenge. Stay safe, informed, and prepared with the latest tips and resources from our blog.
-
Discover The Ultimate Personal Medical History Form - a crucial tool for managing your health journey. With easy-to-use options, printable versions and expandable text areas, this comprehensive form is designed to help you stay organized and prepared. Access it now and take control of your medical history. #Medical #Healthcare #Organized #Prepared